Here are my tips for doing this.
You need to consider the information you want to display and style/layout in order to display it correctly.
To do this you need to look at 4 components for each piece of information/section and maybe a 5th if sourcing images as well.
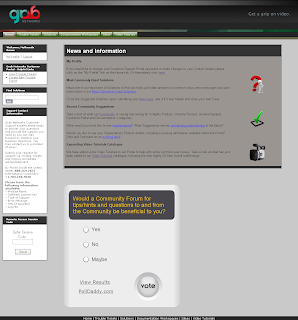
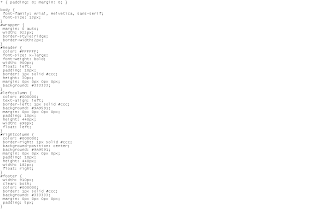
First is your CSS document for styling and layout. The first information section in the image above has a header, a left and right column and a footer. The header contains my title, the left column some text and hyperlinks, the right column some images and the footer for style purposes.

Once you have created your CSS and saved it as a text/css file (I do this in Notepad and save as a .css and file type text) you need to upload it as a Static Resource.
Now you need to create the actual content of the section. I did this as a new Visualforce Component.

(Zoomed in Area)

For the poll I used Polldaddy.com (free) and used Flash Embed as my source and created my Visualforce Component like this:

Polldaddy.com actually gives you its flash code via embed tags. I chose to redo it using object tags for styling purposes. If you need help on this let me know and I will gladly do so.
You can see from two images above that I sourced the images into the Visualforce Component using the apex:image tag:
apex:image url={!URLFOR($Resource.SolutionImage)}”/
Obviously I had already uploaded my images as Static Resources.
The next step is to create your Visualforce Page. Here you call your CSS Static Resource and your Visualforce Component. This is a simple page.

Now you can create the Homepage Component. You need to have an HTML Area Component and select the Show HTML check box. Very simply you are now creating an iframe.

You may find you need to tweak the iframe height to display the full section based on your CSS layout.
And the last step is to actually select it on your Homepage Layout for your Portal.
Hope that helps you think through some options for display stuff on your Portal Homepage.
It's a shame you haven't gotten any comments on this article. Very clear and helpful. Exactly the tutorial I was looking for. Thank you!
ReplyDelete